In digital marketing, visuals are essential. Photographs, videos, and animations all grab attention and impact consumer’s purchasing decisions. Since we are all so visually driven, it makes sense to be able to take quality photographs of the products we sell or things that illustrate our mission. With that in mind, I am sharing today about product photography using your iPhone. Don’t sell a product? Stay with me because many of these tips apply to more than just product photography.
Choose the Style You Want to Capture
There are two main ways to approach product photography:
1)Simple, white background; product only images; Shows the product at different angles; lighting is from a lightbox or studio lights.
2) Lifestyle photos- photos that show your product in its environment with people or complementing products; These can be styled white background shots or even “in action” images using models or in a setting where your product is used.
Study your Lighting
Learn to look at how the light falls on your subject. Is it harsh overhead spotlights? Is it mid-day sun blaring through the windows. I discussed the golden hour of outdoor portrait photography previously. Indoor lighting is a little tougher to navigate. If you want to photograph multiple products quickly with a simple white background, I highly suggest purchasing a light tent. A light tent is basically a cube, white in color, with one side open to photographing your product through. A light tent evenly distributes light all around your product by bouncing it around the walls. My friend Stephanie owns a company called To a T Embroidery and uses a light tent to showcase her embroidery products. She shared some images with me.
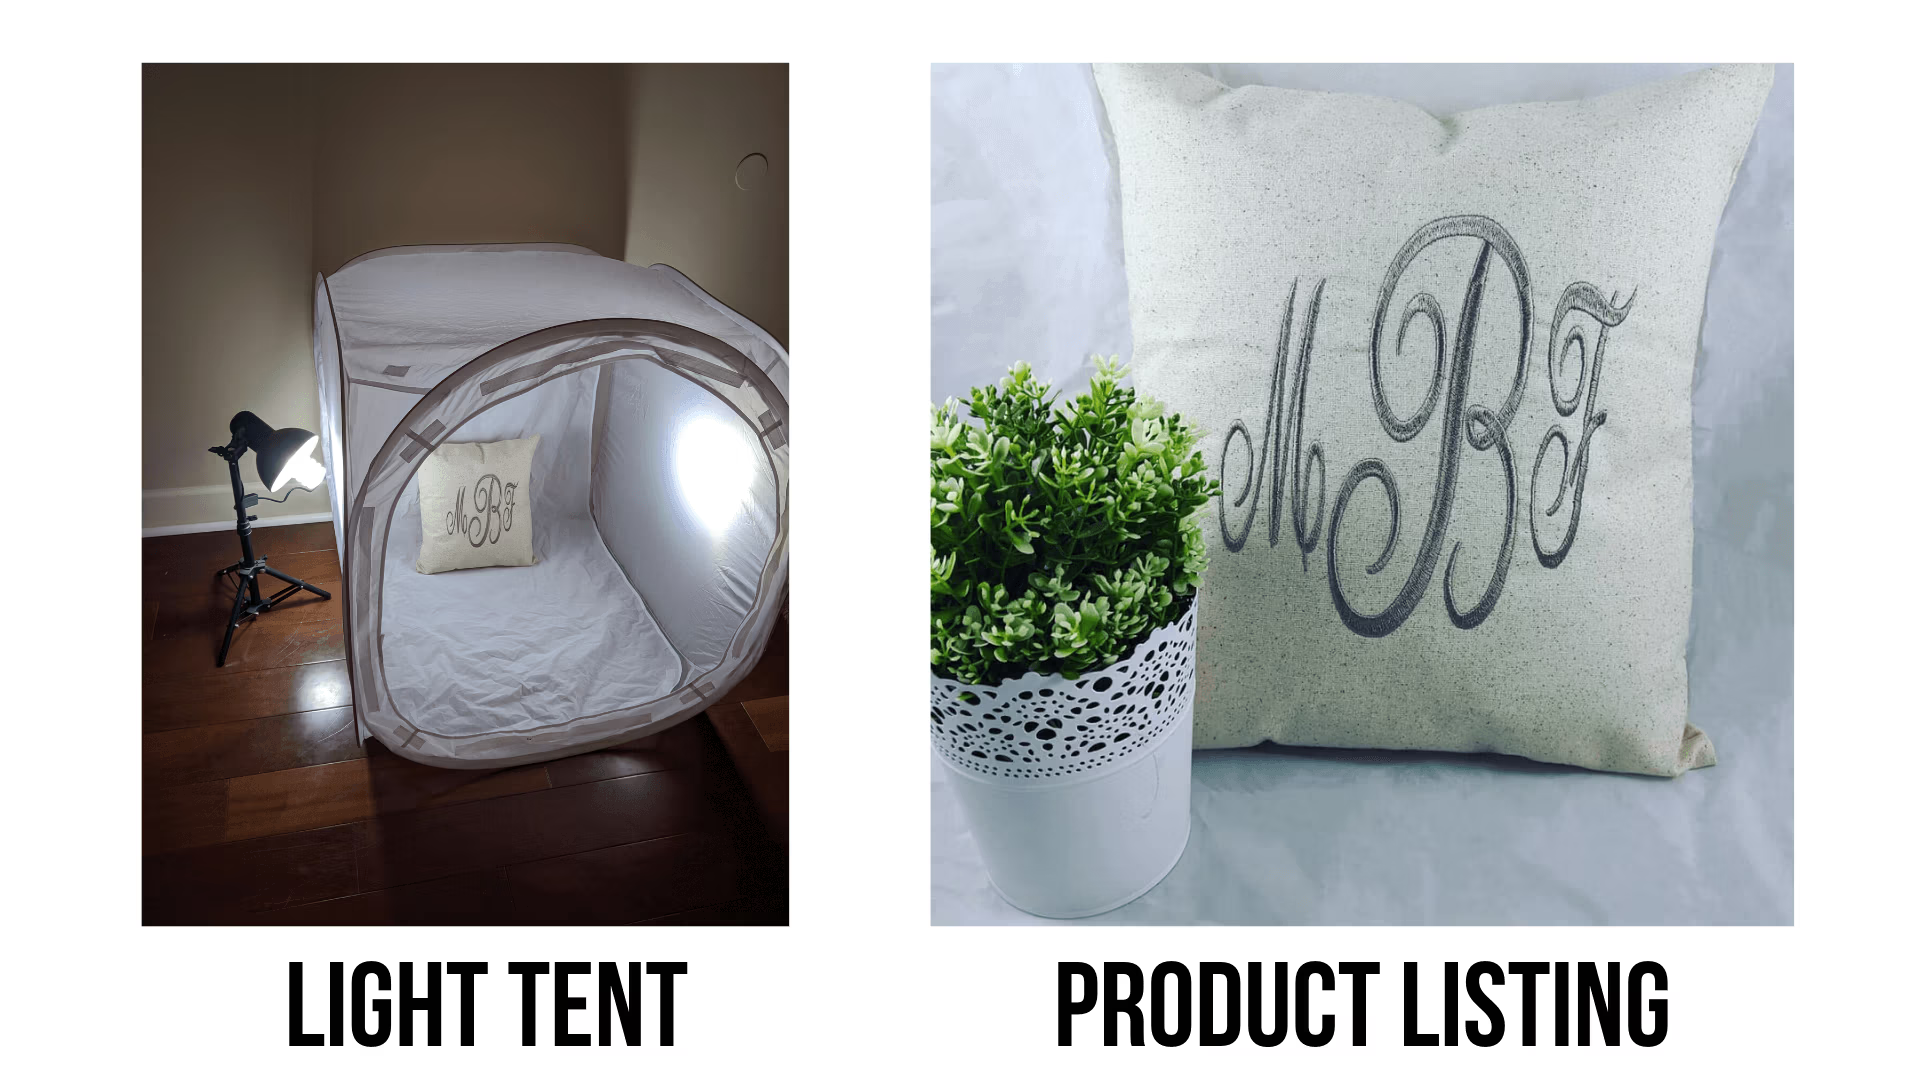
Light tents can be ordered as just the tent or have lights included. Stephanie prefers to use natural light from the morning sun even with her light tent, but the day she took this it was cloudy. Light tents can be used with your iPhone also. I would not recommend Portrait mode for any of these style product shots. There is not enough difference in the background to allow the twin camera system of portrait mode to be able to do its job of blurring the background. Just stick with photo mode.
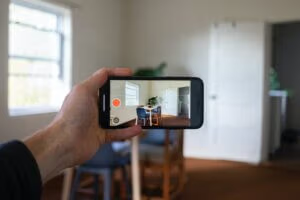
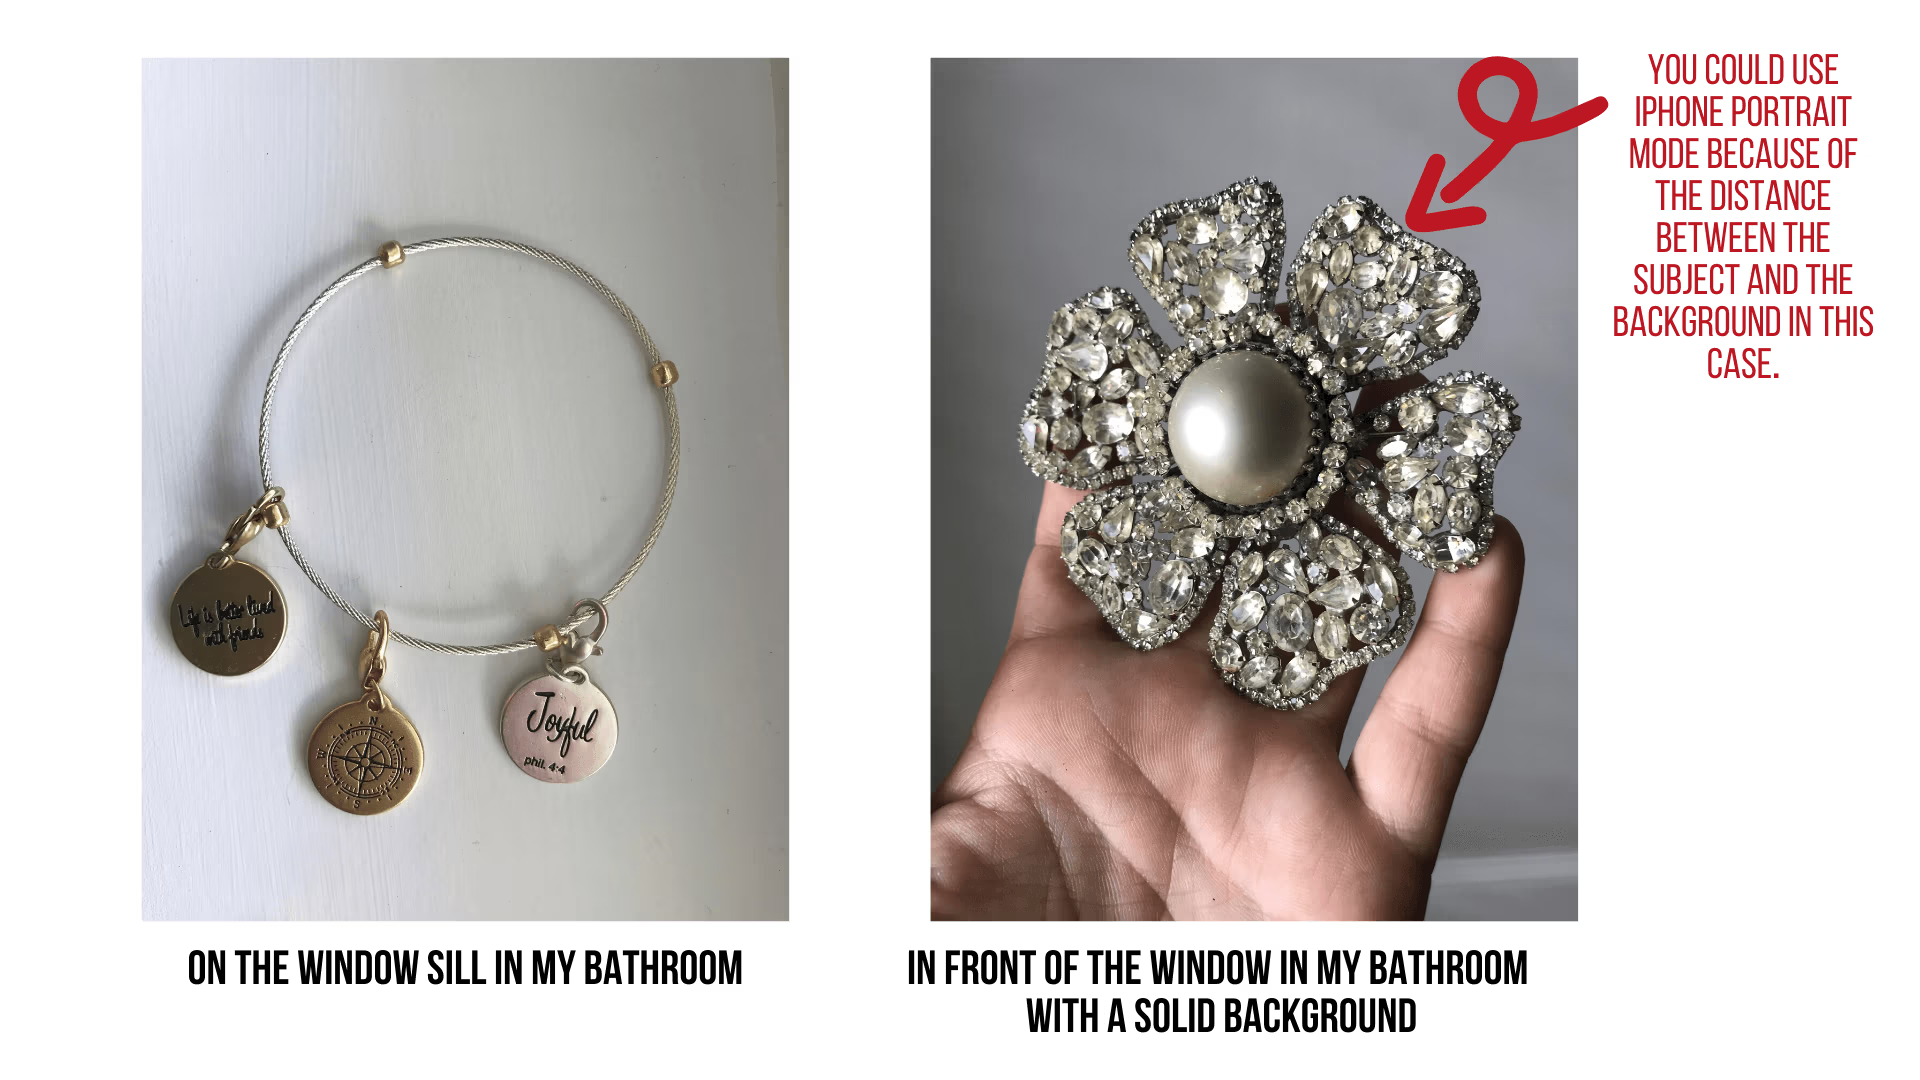
If you do not want to purchase a light tent, you can create the same effect with household objects usually. Buy a roll of white butcher paper and hang it over the back of a chair onto the seat. This is known as a “sweep” because it creates a seamless background. Place your chair near a window on a sunny day but NOT in the direct harsh rays of the sun. The paper gives a white background and the natural light should look great on your product. In some cases, you can find a clean white wall in your home. Here are some I took next to my bathroom window.
If you want to create your own at-home studio that can be used for product photography and so much more, Porch has a great Q & A post: How to Start Your Photography Business at Home.
Simple Tips for Product Photography Using Your iPhone
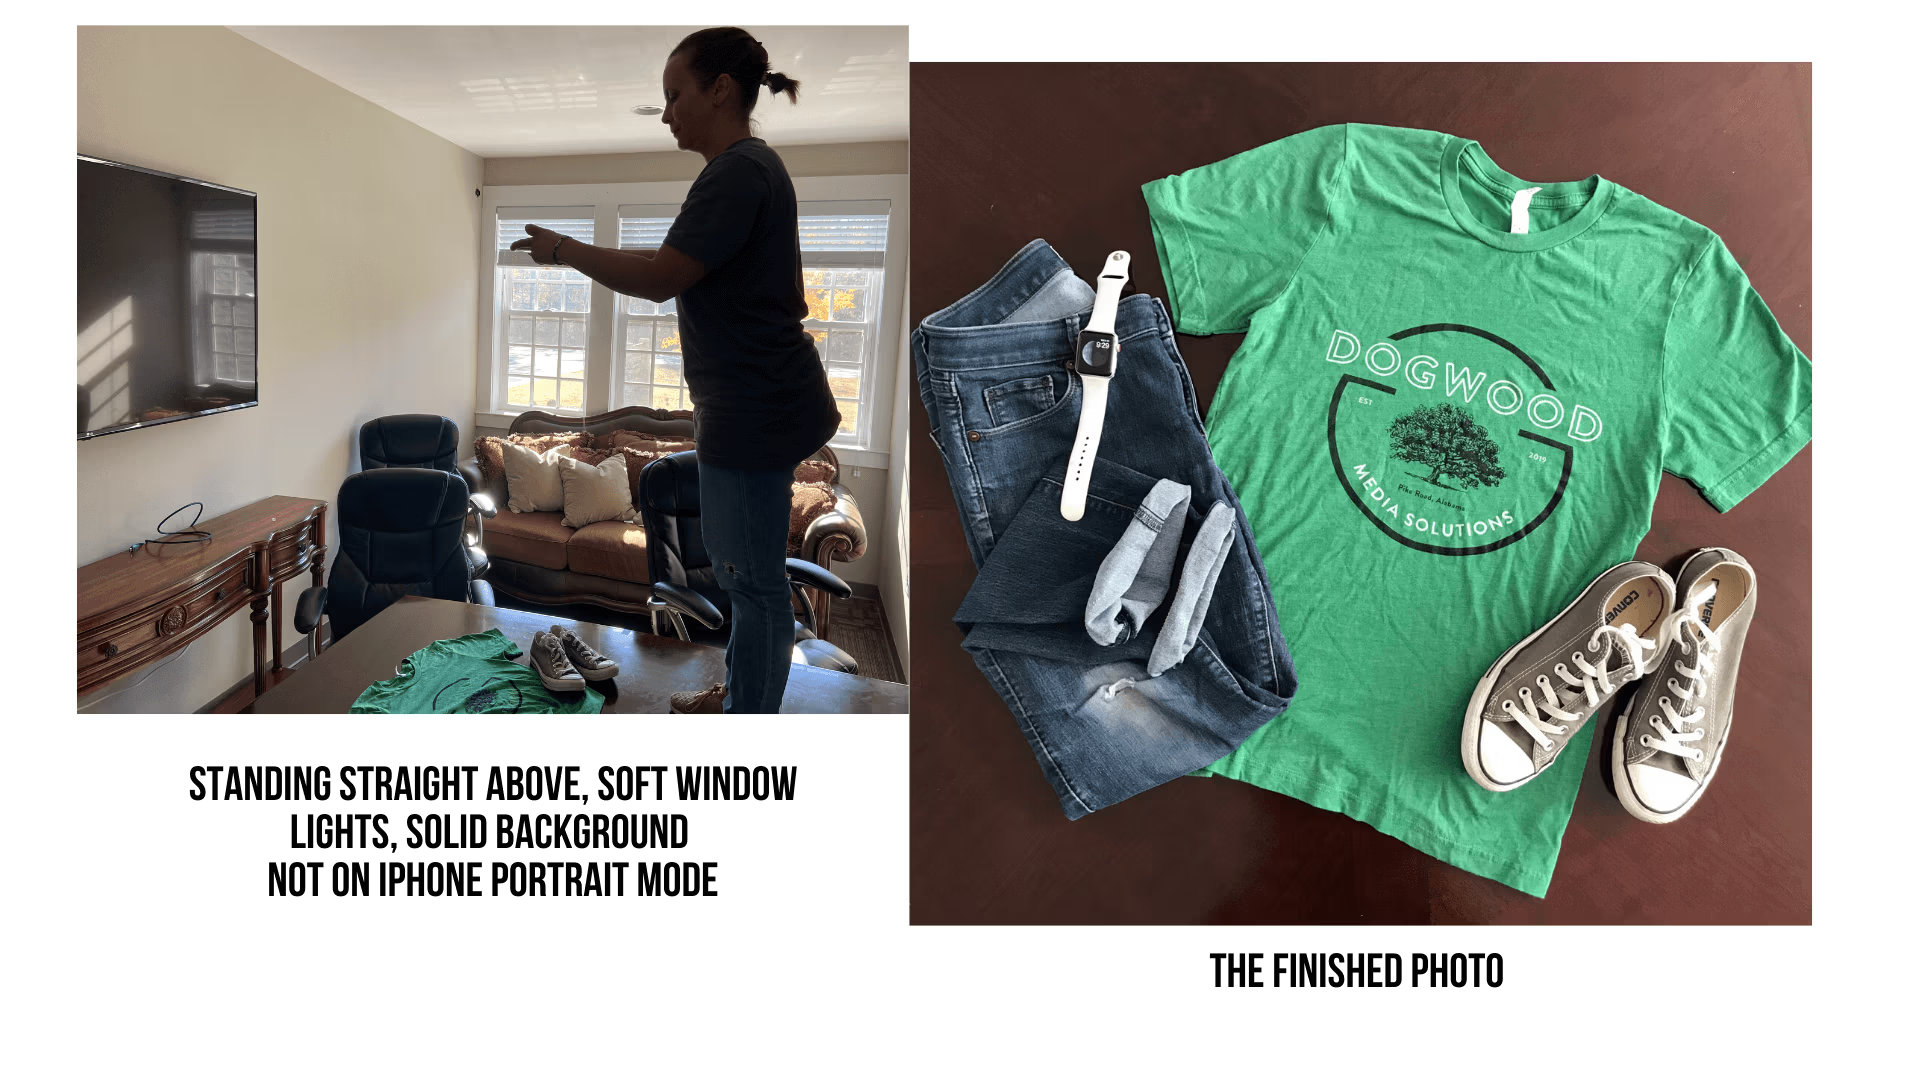
These require a little more thought on composing and lighting than the straightforward product shots described above. Lifestyle product photography is telling more of a story. Take for example this Dogwood T-shirt below. There are a few deliberate decisions I made in taking this photograph.
- Solid background or something not too busy. In this case, I was standing on the table taking it straight down. No strange angles.
- The windows were open using morning light. No shadows nor solid harsh light.
- Although I am selling the shirt, I shared a complete ensemble so you could envision yourself wearing it (or someone else wearing it you might purchase for)
- I placed the main focus of my entire shot to where it falls within the rule of thirds in composition. More on that in an upcoming post.
The best way to become skilled at product photography is to practice. The more you learn to read the light and compose your photographs the easier it becomes. I will be sharing another blog post soon on setting the focus area and adjusting exposure using your iPhone. These tips apply to all kinds of photography but can specifically help with product photography too so keep an eye out!
Oh and if you want to own that super cute Dogwood shirt you have been studying in these photos, you can get it here!
